The Tinder Photo Checklist: 7 Shots to Take Before You Swipe Again
Most people decide whether to swipe before they read a word of your bio. They look at the first photo, register something — interest, doubt, mild confusion — and that decides the next two seconds. None of that is fair, but it is predictable, and predictable things can be prepared for. Your photos are not a personality test. They are a small piece of work you can finish in an afternoon.
Here is a checklist worth working through: seven shots to have, the order to put them in, and the pictures quietly costing you matches.
Why your photos do the heavy lifting
A good bio cannot rescue bad pictures. Words describe you; photographs show you. If someone cannot see your face clearly in the first shot, they have no reason to keep reading, however funny line two is.
Five or six photos is the useful range. Fewer than four and people assume you are hiding something or half-hearted. More than six and the last few rarely get seen. Each shot should answer a question: what do you look like, what do you do with your time, who matters to you, and what would an evening with you feel like?
The seven shots to take
- The clear face shot. Head and shoulders, natural daylight, eyes visible. No sunglasses, no cap brim shadowing your face, no group. This one goes first. A relaxed half-smile beats a stiff grin.
- The full-body shot. Standing, clothes that fit, somewhere with a bit of context — a street, a park, a kitchen. It does not need to be posed, but it does need to be current and honest.
- The doing-something shot. Cooking, climbing, playing guitar, holding up a terrible painting you made. This is where personality comes from. Someone who sees you absorbed in something learns more than they would from "I love travel and food".
- The social shot. One or two friends, you clearly identifiable, everyone looking like they chose to be there. A crowd of eight where nobody can work out which one is you is a wasted slot.
- The smart shot. Wedding guest, birthday dinner, work do. It shows you own at least one shirt that is not a hoodie, and that you can be trusted at a table with strangers.
- The out-and-about shot. Not a landscape on its own, and not you standing three metres away from a famous building. Something with you in it, in a place you would happily talk about.
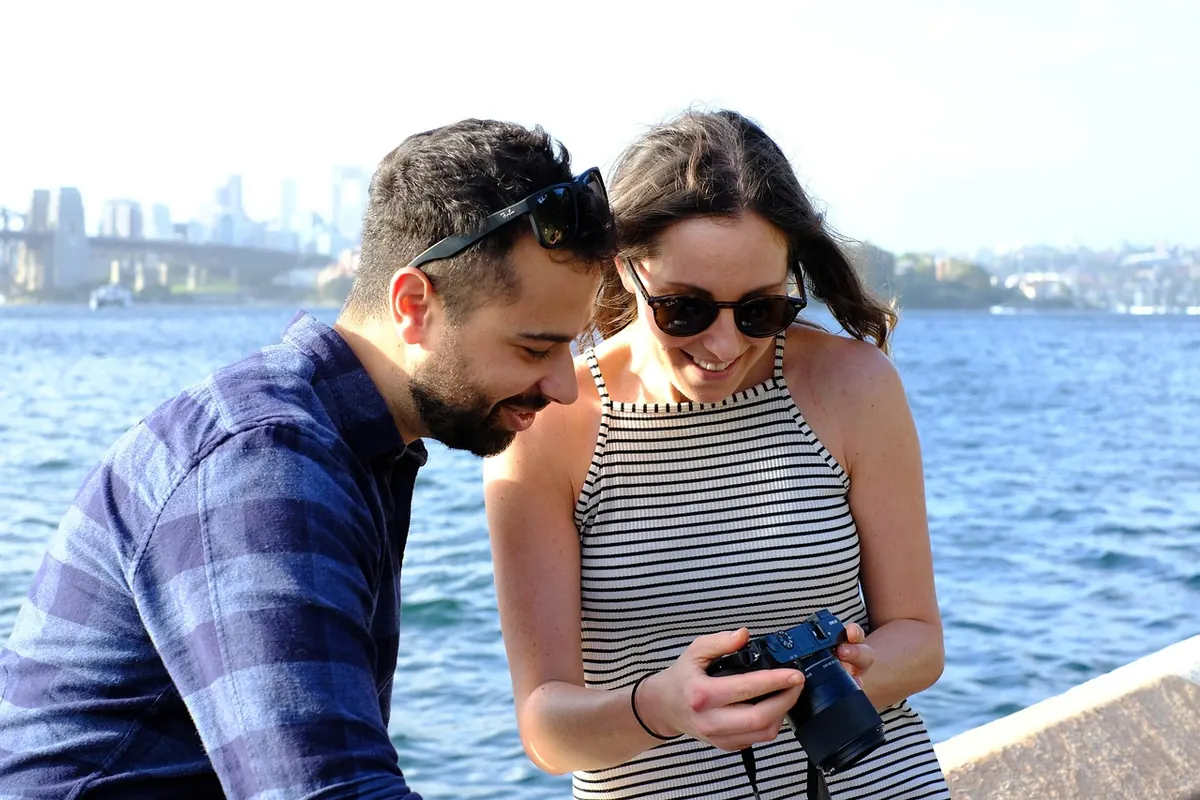
- The candid shot. Taken by someone else, mid-laugh, slightly off-guard. These are the hardest to fake and the easiest to like. Ask a friend to keep shooting while you talk rather than pose.
How to order them
The first photo does roughly the work of the other four combined, so it should be the face shot: bright, recent, unmistakably you.
After that, think in terms of rhythm rather than rules. A workable sequence is face, full body, activity, social, smart, candid. Vary the distance — close, medium, wide — and vary the setting, so the profile does not look like six frames from the same ten minutes. If your fourth and fifth photos are both from the same holiday, swap one out.
One practical point: plenty of people never scroll past photo three. Put the shots you would want a stranger to see first in the first three slots, and treat the rest as bonus material.
Red flags to remove
Some of these are obvious. Others are the reason a perfectly decent profile gets skipped.
- Group photos in the first slot. If someone has to hunt for you, they often will not bother.
- Sunglasses or a hat in every picture. One accessory shot is fine; a whole profile with your eyes hidden is not.
- An ex, or anyone who looks like an ex, still in the frame.
- Other people's children. Even with permission, it invites questions you probably do not want on a dating app.
- Photos from a decade ago. If you have changed noticeably — hair, weight, beard — use something from the last year or two. Turning up as a surprise is not the good kind.
- Gym and bathroom mirror selfies, especially with a visible toilet or laundry pile.
- Heavy filtering and skin smoothing. It reads as insecurity rather than polish, and it makes your other photos look like they belong to someone else.
- Screenshots, memes, quotes and watermarked stock images. They are not photos of you.
- Holding a fish, leaning on a car that is not yours, or the same dog in four slots.
Lighting, angles and editing
Natural light does almost all the work. Stand near a window indoors, or in open shade on a bright day rather than in direct sun, which makes everyone squint and casts hard shadows under the eyes. Harsh flash flattens faces and makes phone cameras look cheap.
Hold the camera at roughly chest height or slightly above, and never shoot upwards from below the chin. A little editing is fine — crop, straighten, brighten. Heavy retouching is not, because it makes you harder to recognise in person, and recognition is the whole point.
If a photo needs three apps and ten minutes to look right, it is not the photo. Take a better one instead.
Take them this weekend
You do not need a photographer or a plan. You need forty minutes and a friend with a phone.
- Pick three outfits and three nearby locations: a street, a park, a kitchen or café.
- Ask your friend to shoot while you walk, talk and do something with your hands. Aim for sixty frames.
- Choose five. Bin the rest, including the ones you almost like.
- Check the first shot at thumbnail size on your phone. If your face is not clear at that size, it is not your first shot.
- Replace one photo every couple of months. A profile that never changes starts to look abandoned.
Then stop fiddling and get back to swiping. Five honest, well-lit, varied photos will do more for you than another fortnight of rewriting your bio.
Photo: Pexels / Pixabay